
Weekly Job Update: Preparing for Engineered Oak Flooring Installation in Hebden Bridge
- Simon

- Oct 13, 2025
- 4 min read
This week, I am embarking on an exciting project in Hebden Bridge where I will be self-leveling a floor in preparation for the installation of engineered oak plank flooring. Using the sausage glue full stick method, I will be laying down a beautiful and sturdy floor that will enhance the charm of this lovely location. Stay tuned for updates and photos showcasing the final results!
The Importance of a Well-Prepared Subfloor
Before diving into the actual installation of any flooring, ensuring a well-prepared subfloor is essential. The subfloor serves as the foundation for whatever flooring type is being installed, and its stability directly impacts the lifespan and appearance of the finished product.
In this case, the first step is to self-level the floor. A level subfloor helps prevent issues like uneven spots, which can cause gaps, cracking, or squeaking sounds once the flooring is installed. According to a study by the National Wood Flooring Association, an uneven subfloor can lead to up to 25% claims of warranty issues on flooring installed. This makes proper preparation a worthwhile investment.
Self-Leveling the Floor: Steps and Best Practices
Self-leveling a floor is straightforward but requires attention to detail. Here’s a streamlined process that I follow:
Assessment: Before starting, I assess the current state of the subfloor, looking for imperfections like dips and high spots.
Cleaning: The subfloor must be cleaned thoroughly to remove any debris or residues. This ensures the leveling compound adheres properly.
Primer Application: A primer is then applied to help the leveling compound stick better to the existing surface. This is an often-missed step but critical for successful installation.
Mixing Compound: Next, I mix the self-leveling compound according to the manufacturer’s instructions. This step often involves adding water and mixing to the right consistency.
Application: The compound is poured in sections and spread out with a trowel. It naturally seeks its level and fills in any low spots.
Drying Time: It's crucial to let the compound cure fully before proceeding with flooring installation, typically 24 hours.
Final Level Check: After the compound has dried, I'll use a leveling tool to ensure the floor is indeed flat.
Following these steps not only guarantees a solid foundation but also a hassle-free installation process for the engineered oak flooring.

Choosing the Right Engineered Oak Flooring
The customer has selected their own flooring, which I will be installing. Engineered oak flooring has been increasingly popular due to its aesthetic appeal and practicality.
Some advantages of engineered oak include:
Stability: Unlike solid wood, engineered wood is less susceptible to changes in humidity and temperature, making it suitable for various environments.
Easy Installation: Many brands offer click-lock systems, which simplify the installation. However, in this case, the sausage glue full stick method will provide additional strength and durability.
Versatility: Engineered oak comes in various finishes and styles, ensuring compatibility with nearly any interior design.
In Hebden Bridge, where the homes often blend traditional and modern styles, engineered oak fits right in, providing the timeless beauty of wood while standing up to daily wear and tear.
The Sausage Glue Full Stick Method
The sausage glue full stick method involves applying adhesive across the entire surface area of the flooring planks rather than just spot gluing. This method is optimal for engineered wood planks as it creates a solid bond, minimizing the risk of movement over time.
Here’s a brief overview of how I’ll implement this method:
Preparation of Glue: The glue is supplied in sausage-shaped packages, allowing for easy application using a caulking gun.
Application: The adhesive is applied in straight lines across the floor. Even coverage is key to ensure a strong bond.
Plank Placement: Planks are placed directly onto the glued surface. It is critical to align them correctly to avoid warped patterns.
Weighting Down: After positioning, weights or heavy objects are sometimes required to hold the installed planks in place until the adhesive sets.
Curing Time: Like with self-leveling, it’s important to allow the glue to cure fully, usually around 24-48 hours, before walking on the surface.
This method not only enhances the durability of the flooring but also significantly reduces the chances of squeaks and movement, offering peace of mind to my customers.

Potential Challenges and Solutions
No project is without its challenges, and being prepared for any situation can make a significant difference. Here are some potential issues I might face during the self-leveling and installation:
Humidity: Weather can affect adhesive curing times. If the air is too damp, it may delay drying. A dehumidifier can help regulate the environment.
Subfloor Composition: Some older homes may have subfloors that are not conducive to typical adhesives. In such cases, specially formulated adhesives can be utilized.
Uneven Compound: If the self-leveling compound isn’t spread evenly, it could cause problems during installation. Regular checking with a level can mitigate this risk.
By keeping a keen eye on potential hurdles and having solutions at the ready, I can ensure a smoother workflow and ultimately a more satisfying finish for my customer.
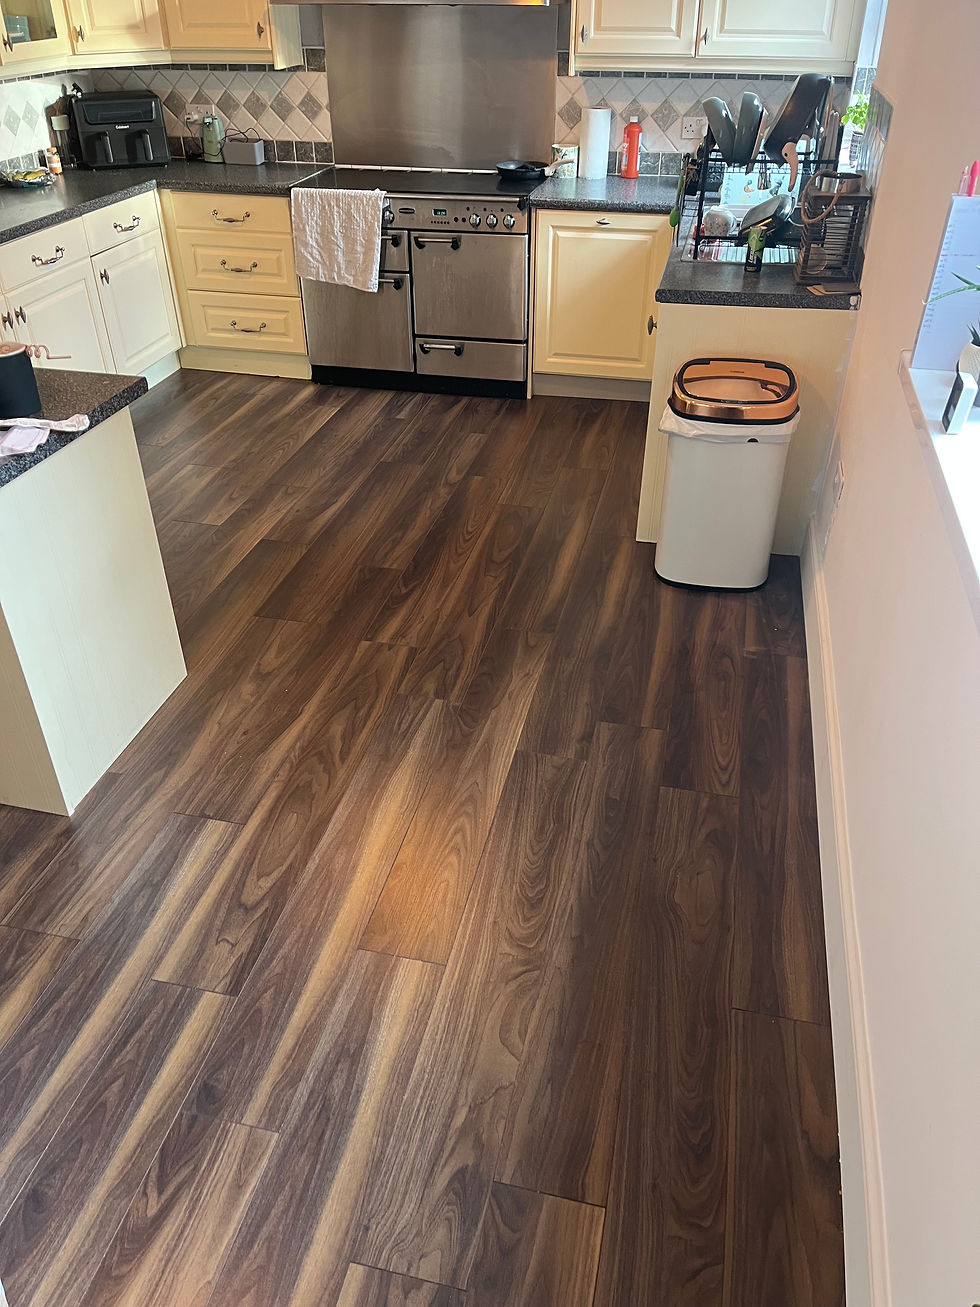
Showcasing the Final Results
As I wrap up this project, I am excited to share the finished results after installation. The way a new floor can transform a space is always rewarding.
Once the project is complete, I’ll be updating this blog with photos showcasing the transformation of the room. You will see how the engineered oak flooring enhances the aesthetic appeal and functionality of the space.

Reflecting on the Journey
This week in Hebden Bridge has been an enlightening experience. Every project is unique, and being able to deliver a custom solution for each customer is what drives me. From the initial planning stages through to completion, each decision made plays a significant role in the finished product.
I look forward to sharing my progress and results with you. Every floor tells a story, from the selection of materials to the finish details. The joy of installation will be very noticeable once the project wraps up, and I anticipate my customers' reaction to seeing their vision come to life.
Stay tuned for more updates on this endeavor and future projects. Remember, achieving a beautiful floor isn’t just about aesthetics; it’s about solid preparation and expert execution!


Comments